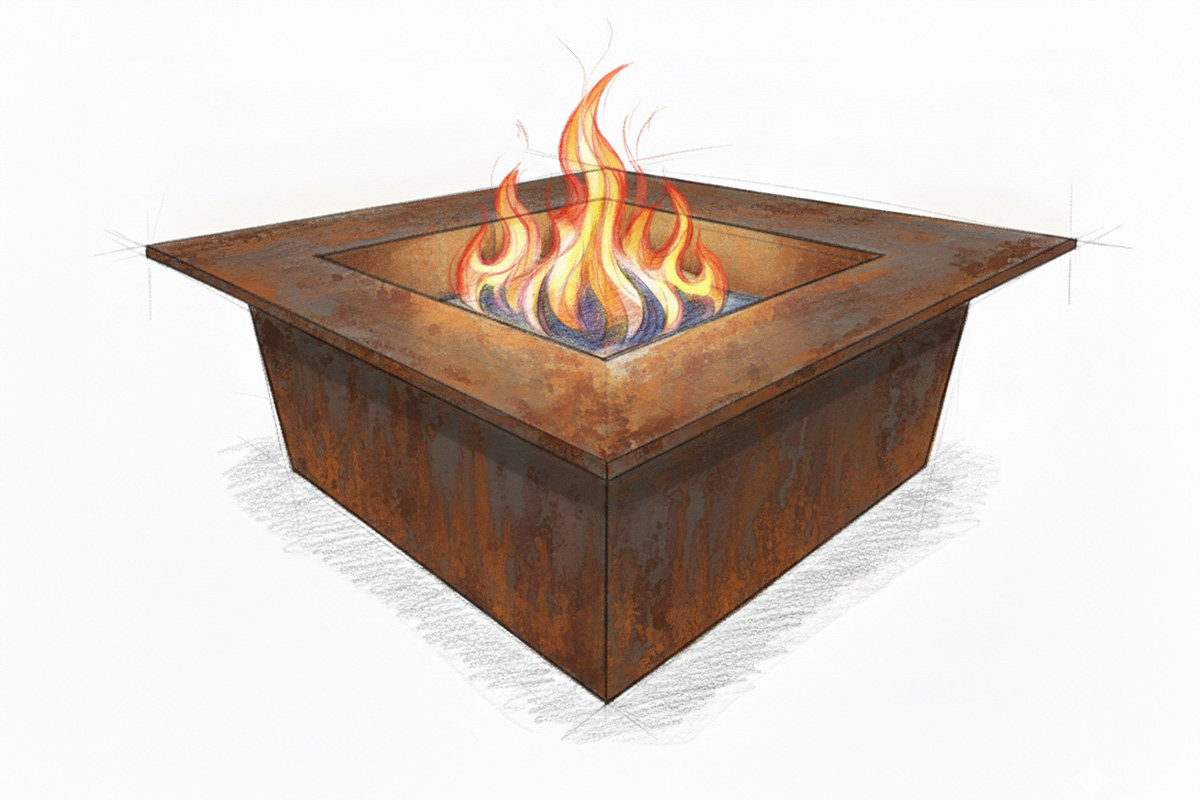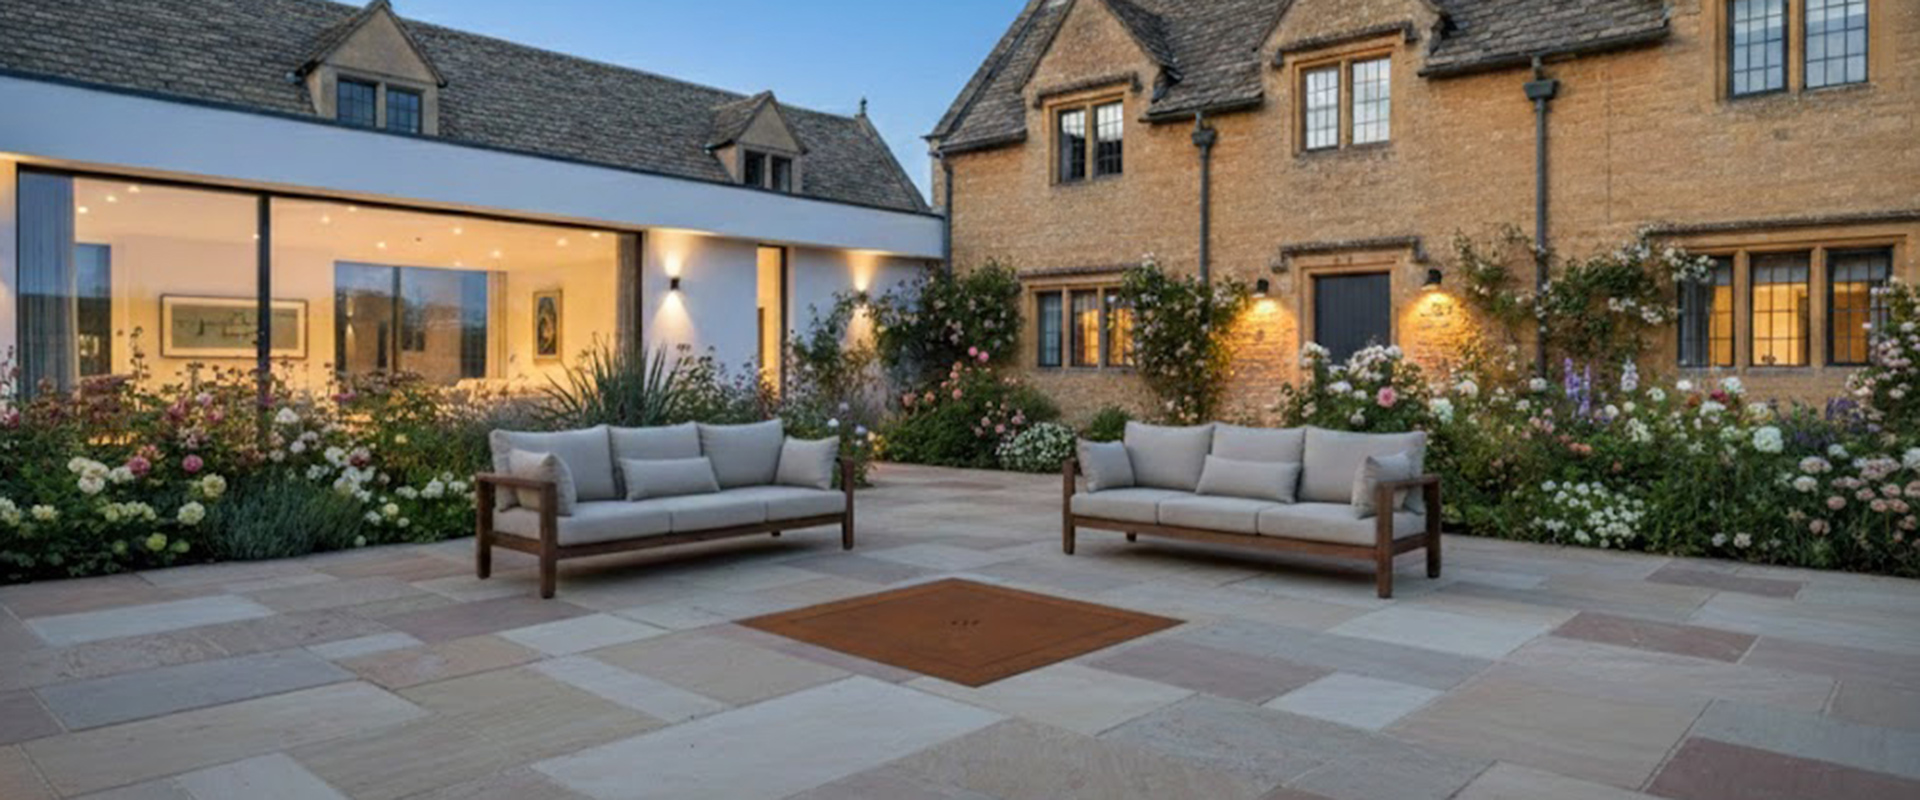
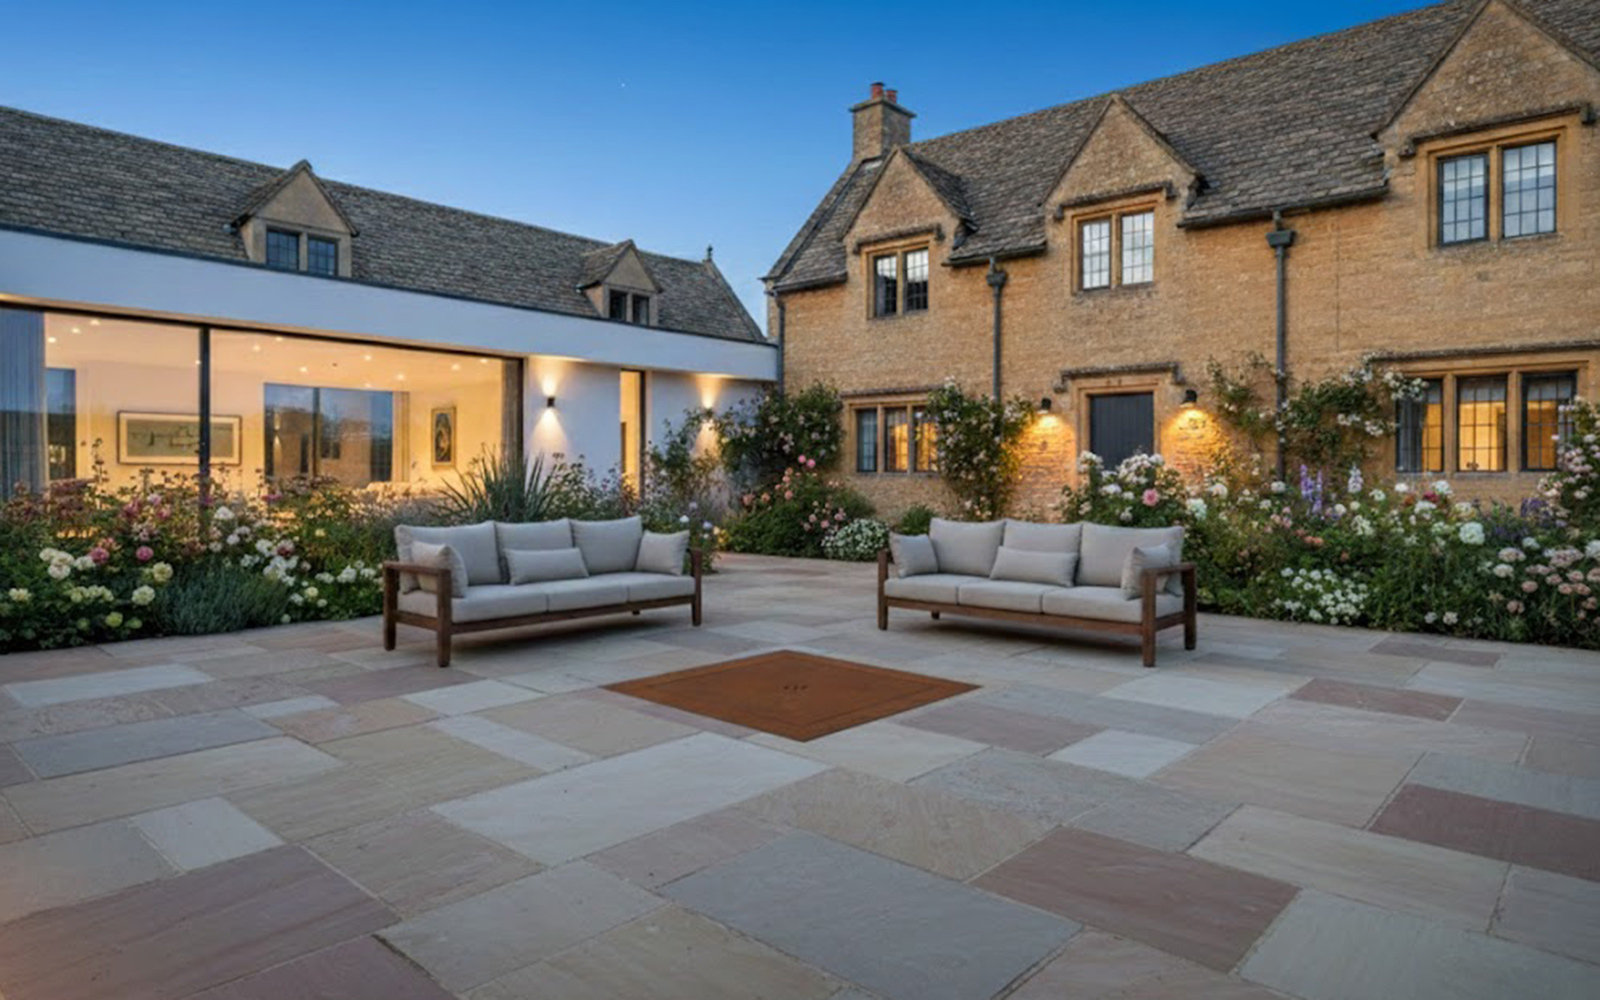
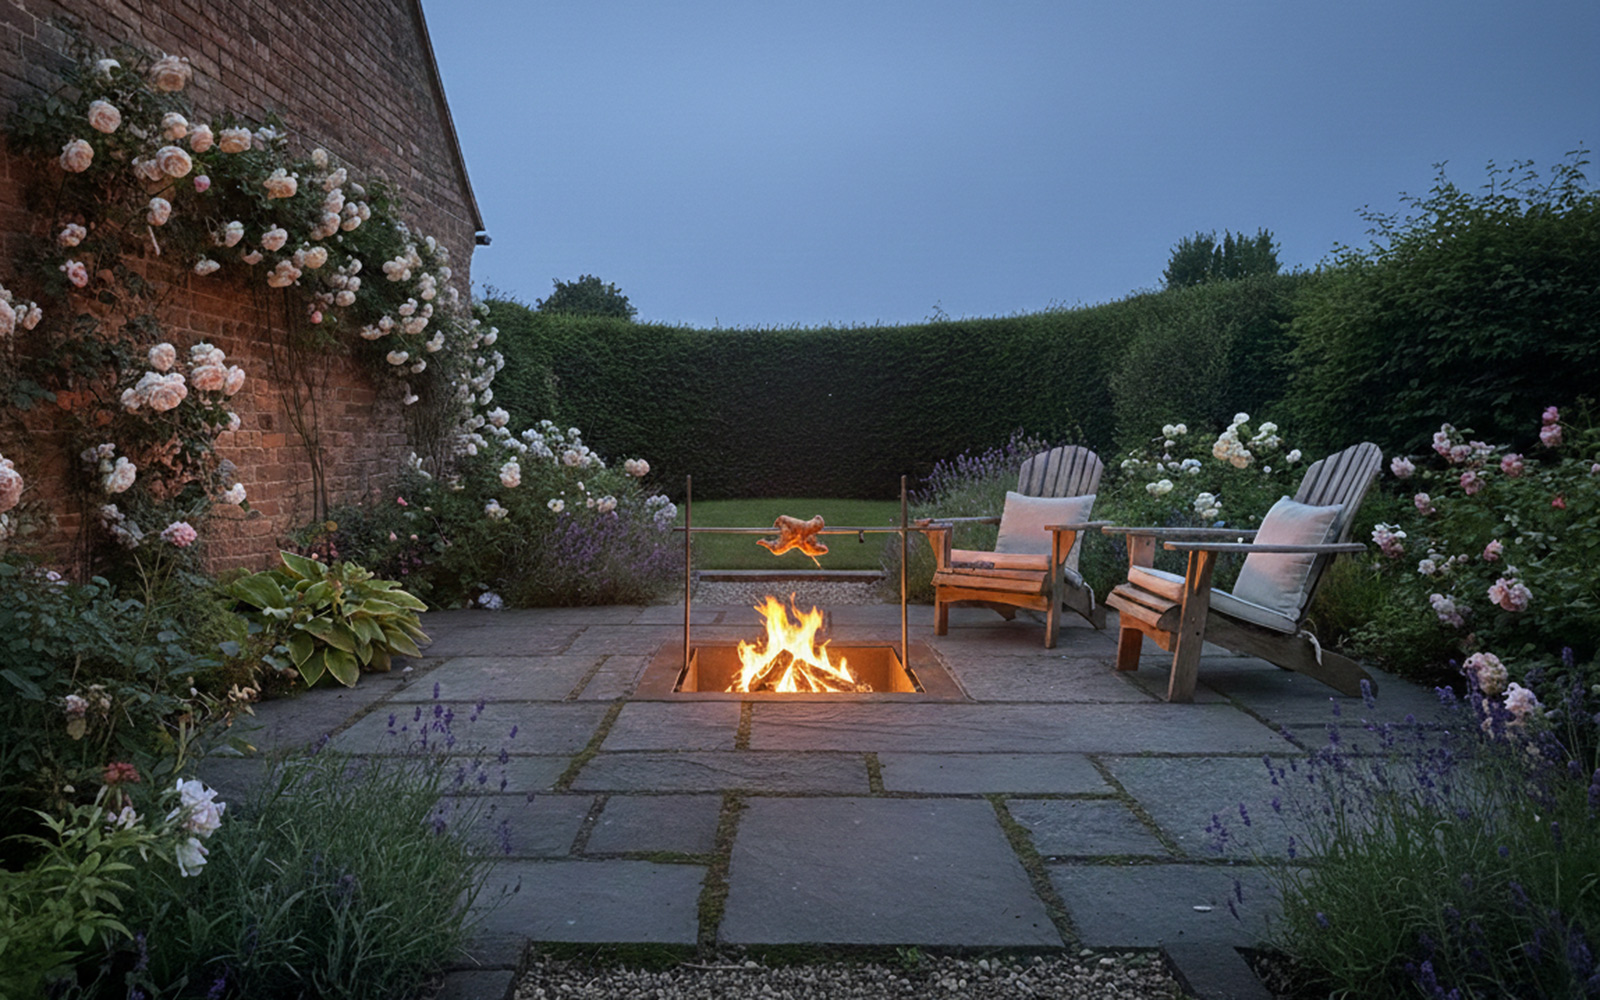
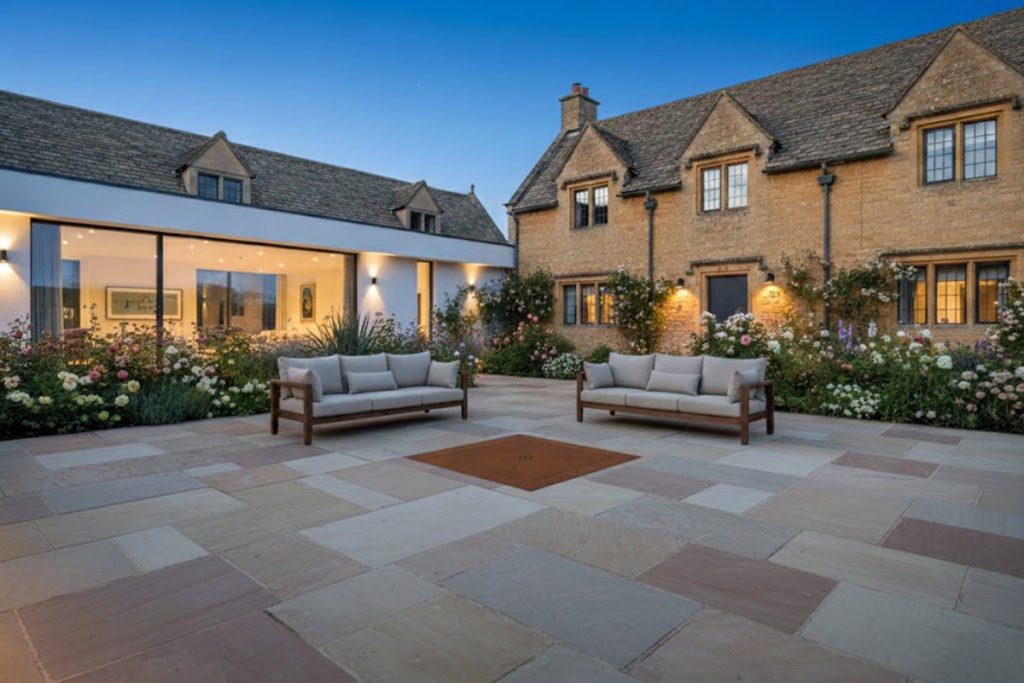


Another product unique to us. An outdoor fire pit/barbecue designed to be set in the ground, leaving just a flush corten steel lid visible when not in use.
This in-ground, sunken fire pit is also a fully functional barbecue with a spit.
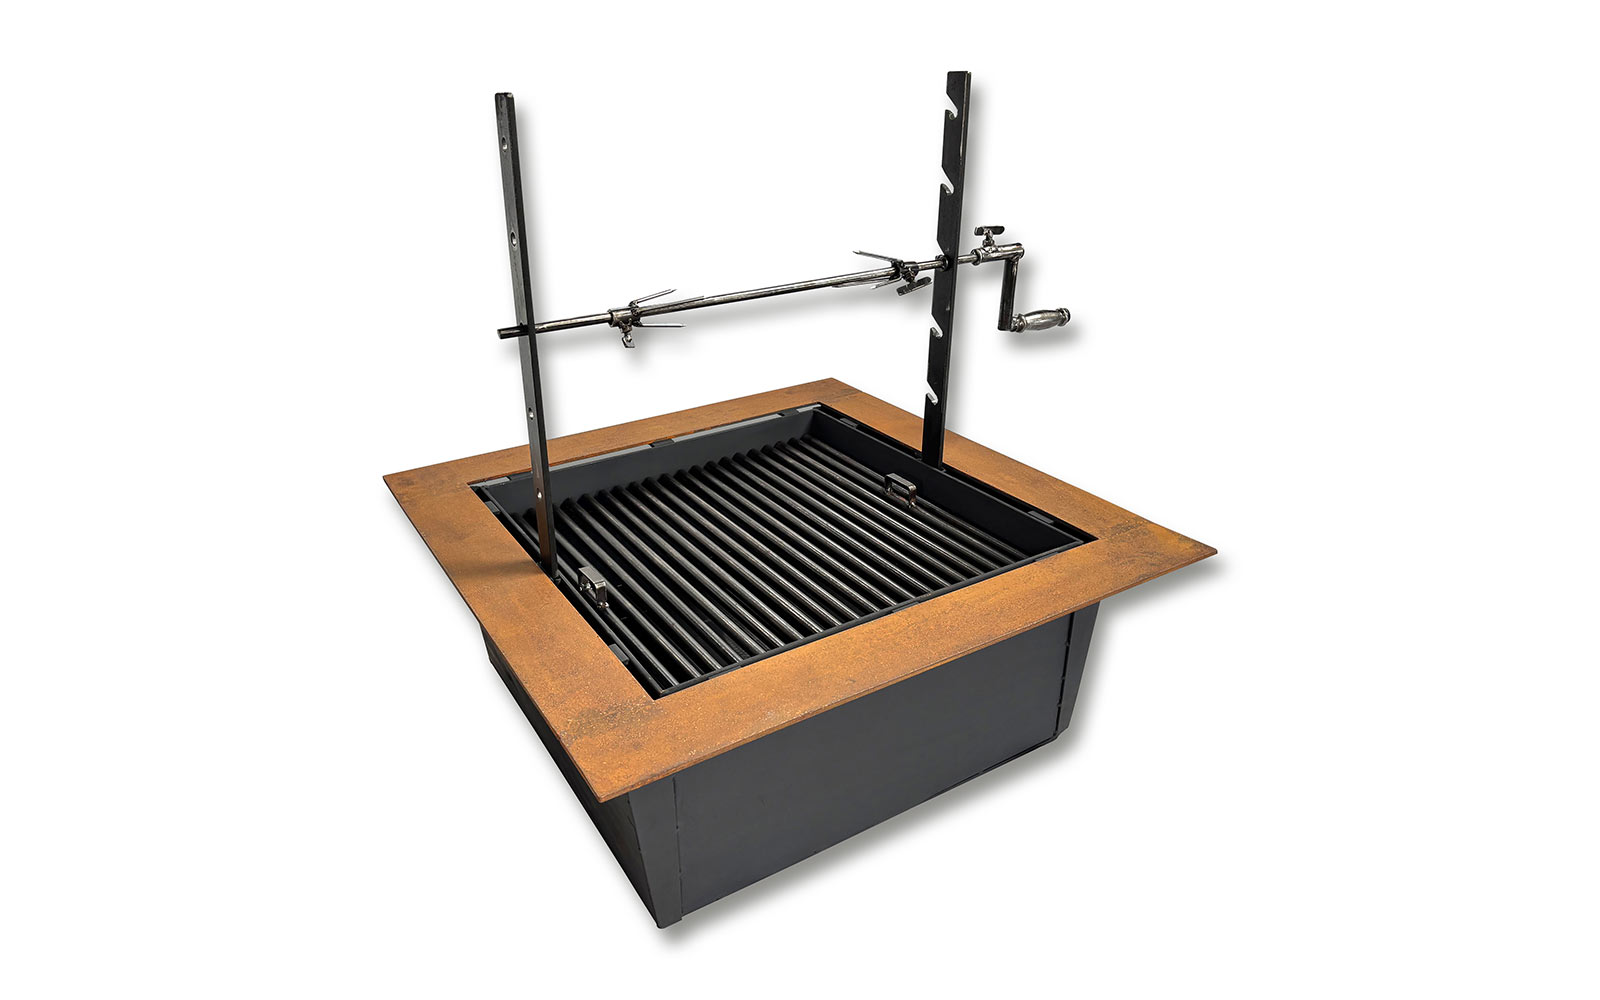
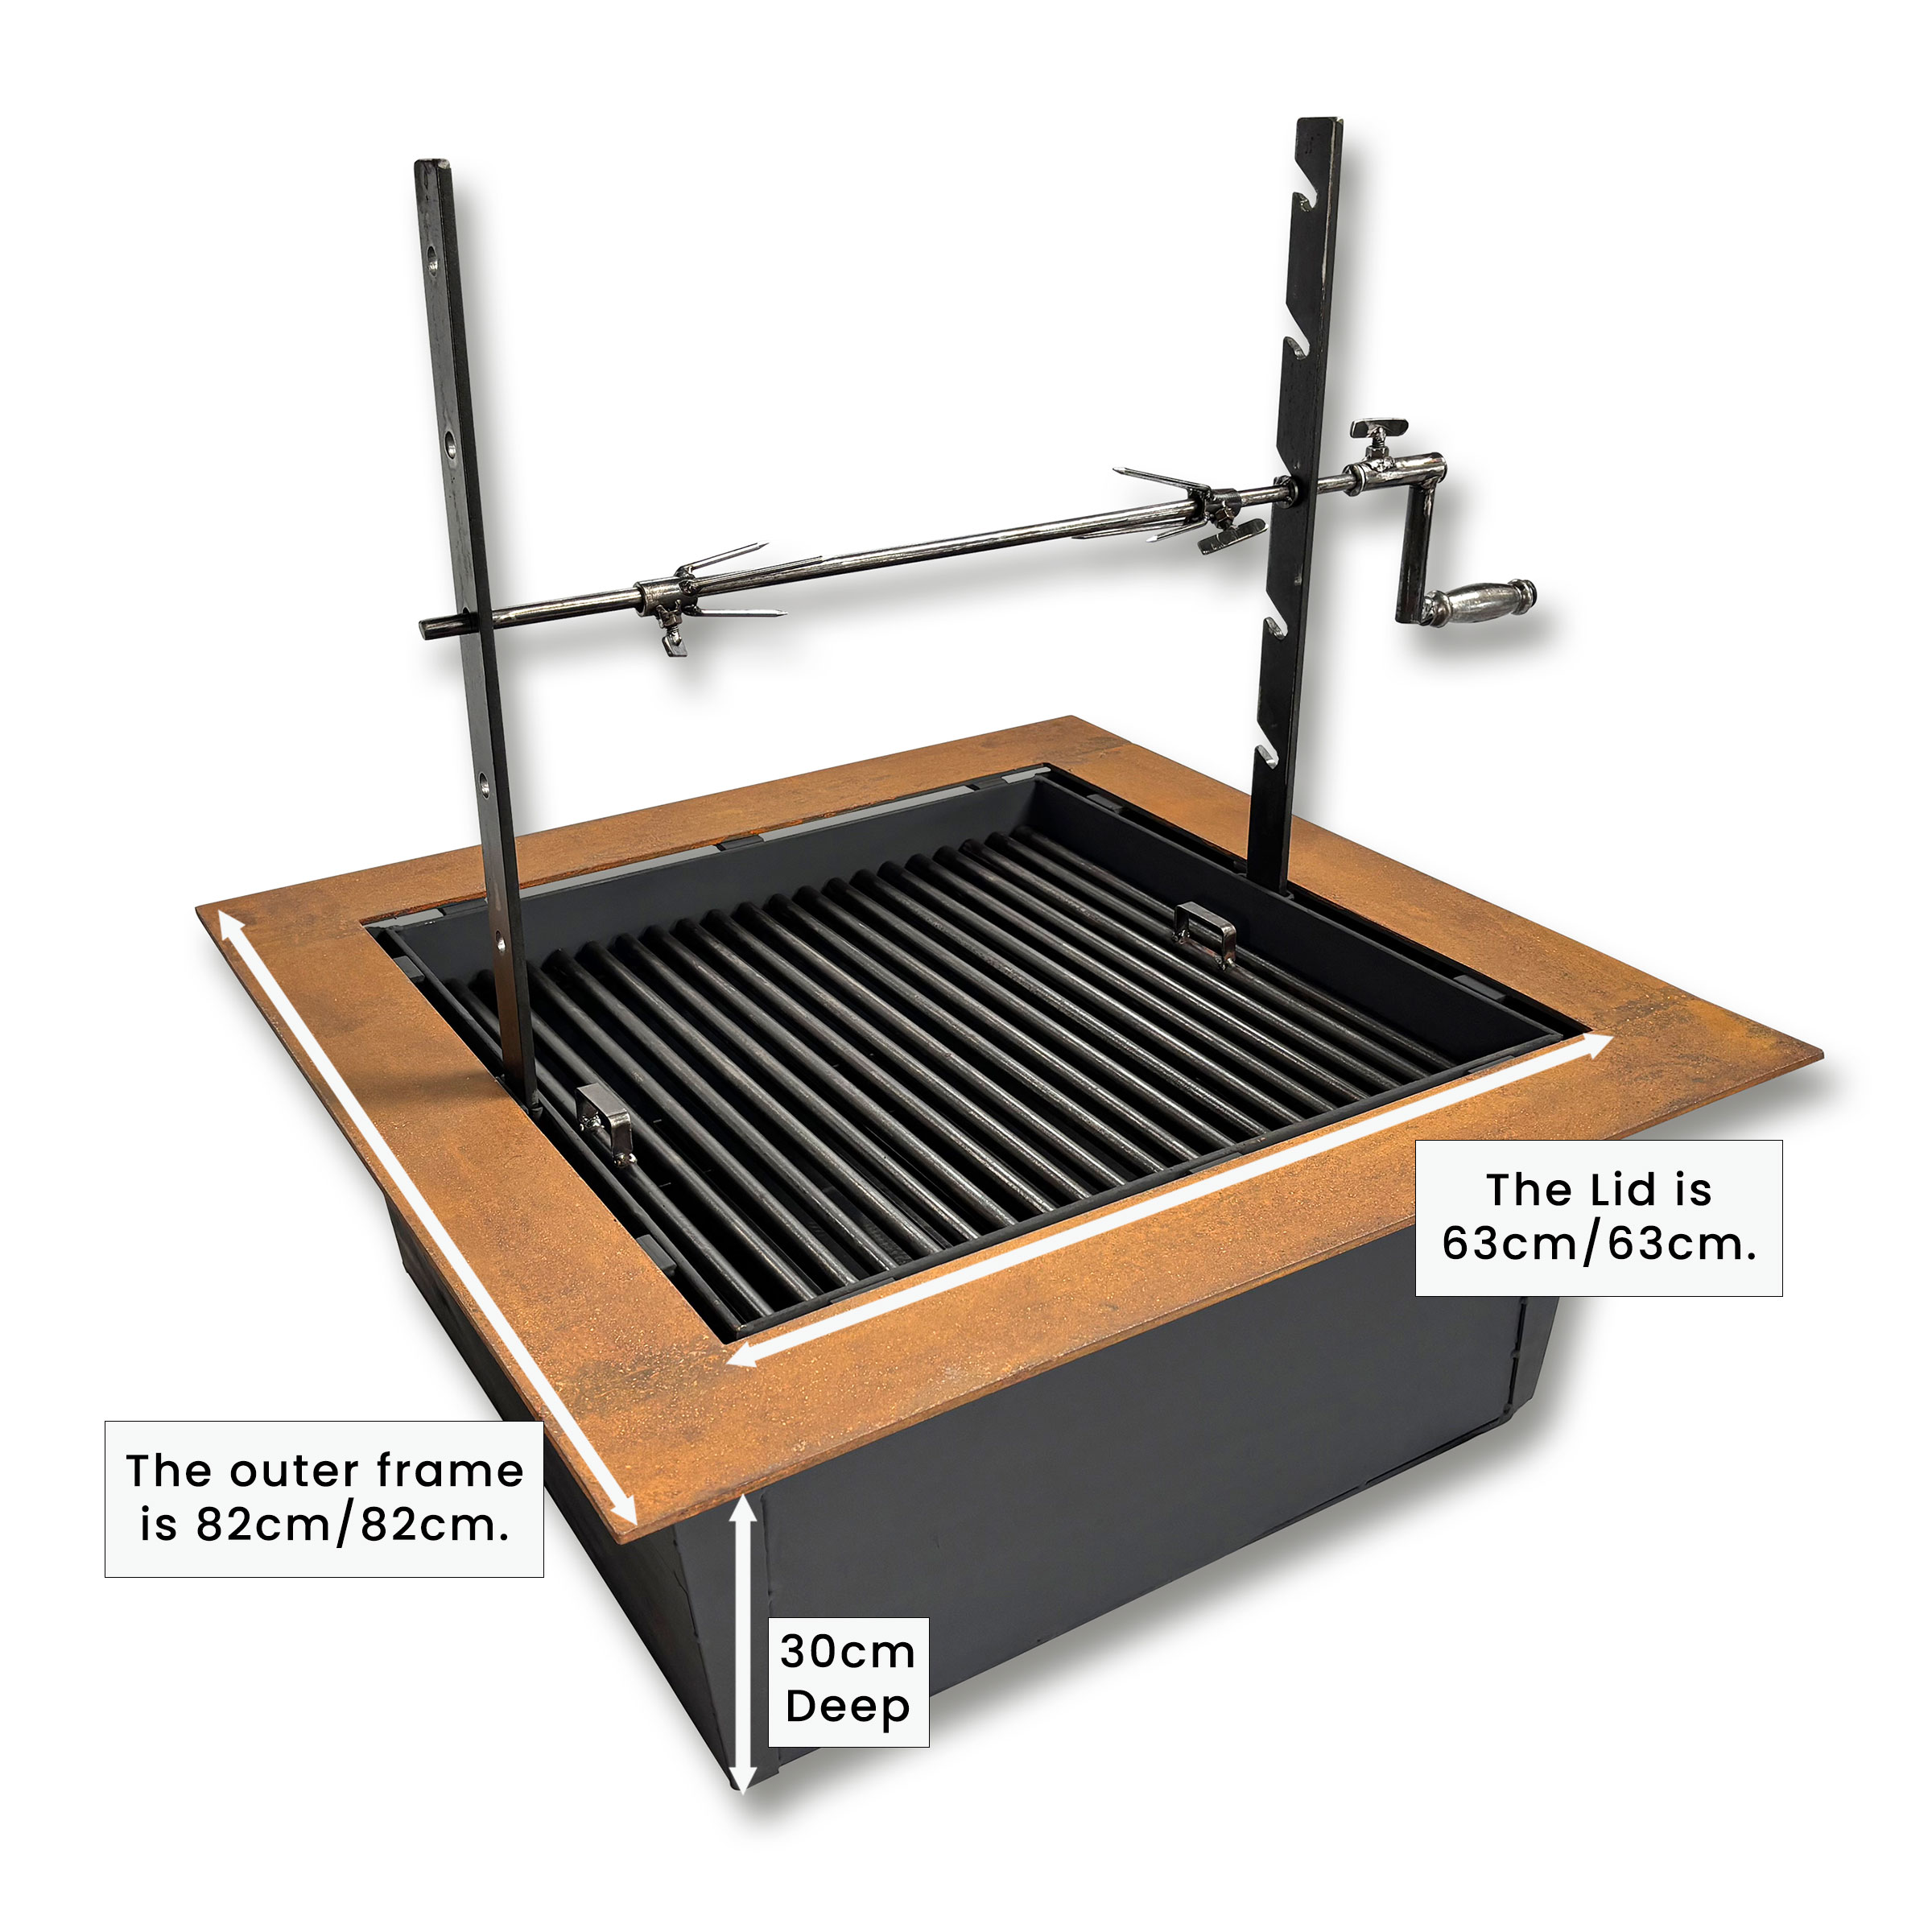
It can be installed in lawns, paved areas or any area of the garden. Lift off the lid to reveal a fully vented fire pit and barbecue with ash tray, wood grill, cooking grill and roasting spit. The vents feed air directly below the burning grill to produce an exceptionally efficient burn with little smoke.
For an even more contemporary look, we can supply the lid and surround in stainless steel, please enquire for a price on these.
When not in use the lid is strong enough to walk over, jump on or even drive a lawn tractor on.
With the Sunken Fire Pit, there are no optional extras; everything you could need is included.
The Split
Lid
Cooking Grill
Burning Grate
Ash Tray
Fire Pit
With just a sturdy lid visible, you will not lose any usable space.
The adjustable spit allows you to cook large meat sections evenly and over a long period without burning.
Setting your fire pit into a lawn is ideal it’s unobtrusive, the corten steel lid provides a nice visual contrast and you can even drive a lawn tractor over it.
As far as we know, there are no other in-ground fire pits on the market like it. Ideal for installing into new or existing paving, lawns or any area of the garden it can be enjoyed.
One of the most unique features of the in ground firepit are the vented sides.
The double outer walls allows air to be drawn into the hidden side cavity and pulled directly under the burning grate, this ensures excellent, hot, clean burn with less smoke and unburnt fuel. This is essential with any fire pit or barbecue set in the ground.
Weighing in at over 50kg with an unprecedented 5mm thick steel body and lid this fire pit will last a lifetime. The grills are made by hand using steel bar, they are heavy and solid which help to hold and disperse the heat for more even cooking.

The fire pit with stainless steel lid option is ideal for contemporary schemes or in light coloured paving where less of a contrast between the fire pit and its surround is desired.

The fire pit lid is strong enough to drive over!
Dawn and Jimmy are in the office and are ready to take your enquiry
Call 01485 524251 or email hello@3asteelworks.co.uk or complete our enquiry form.
Installation is straightforward.
When installing into a lawn, excavate a hole to accommodate the fire pit and slightly deeper to ensure good drainage top up with gravel and compact.
Place the fire pit in the hole and ensure it’s level, or more importantly, the corten frame is flush with the lawn or slightly lower to allow a mower to pass over. Backfill around the sides of the fire pit and compact to ensure the ground will not sink later.
Use the fire pit outer frame as a template for cutting the paving. Increase the size slightly to allow for a joint between the paving and fire pit surround. Try and replicate the same joint width as for the rest of the paving for a cohesive look.
Paving, especially porcelain, is often installed on a concrete base; if this is the case, just cut the paving initially and remove the slabs/tiles on the inside.
Then cut an inner square big enough for the actual fire pit body. This allows the corten frame to sit over the concrete base. If there is no concrete, just a hardcore under the paving, then leave a narrow shelf of hardcore and again just dig out a hole big enough to accommodate the fire pit body. See the image below.
Dig a hole 5 to 10 cm deeper than is required and break up the base to ensure drainage is good.
Top up with gravel for more drainage and compact to prevent sinking.
Lay cement on the perimeter surround of concrete or hardcore so the corten frame beds onto it once installed.
Insert the fire pit and ensure it’s level and there is no rocking. During installation, pour gravel down the sides of the fire pit to fill any void between it the sides of the hole.
Ensure the fire pit is firm and the corten surround is flush with the paving. Ideally, you will have needed to tamp the fire pit down slightly to its correct level so it can’t sink later.
When you’re happy, join the gap between the frame and paving to complete.
Allow three days for the cement to dry before using your new fire pit.
That’s it, you’re done!
Dedicated to producing unique woven steel fencing and steel lawn edging.
High-quality estate fencing at trade prices, available as supply only or supply and installation.